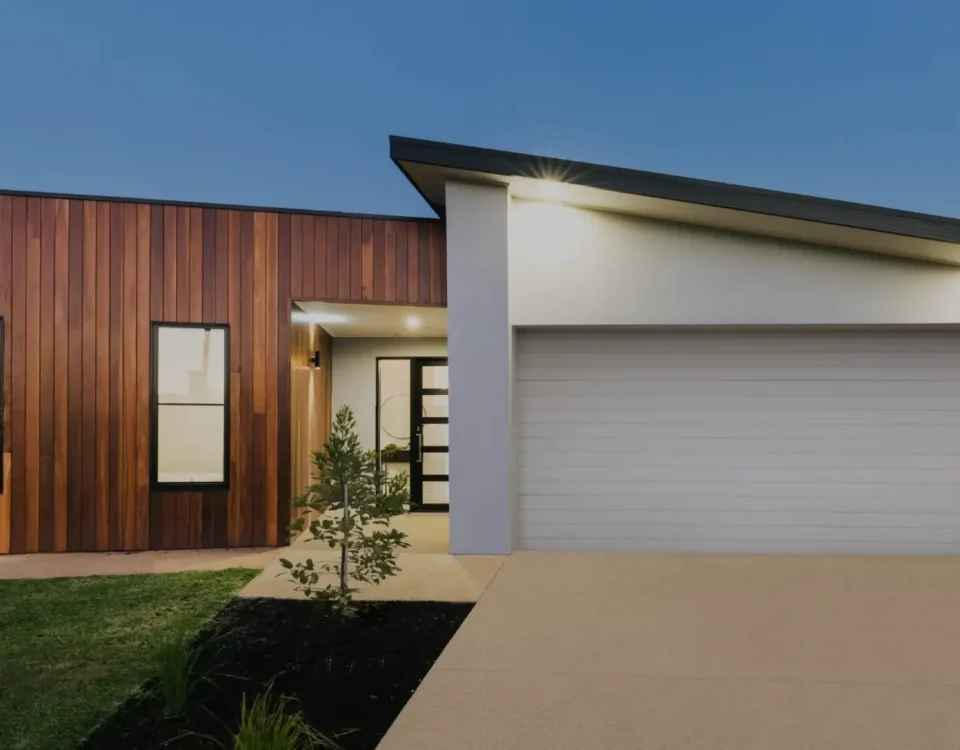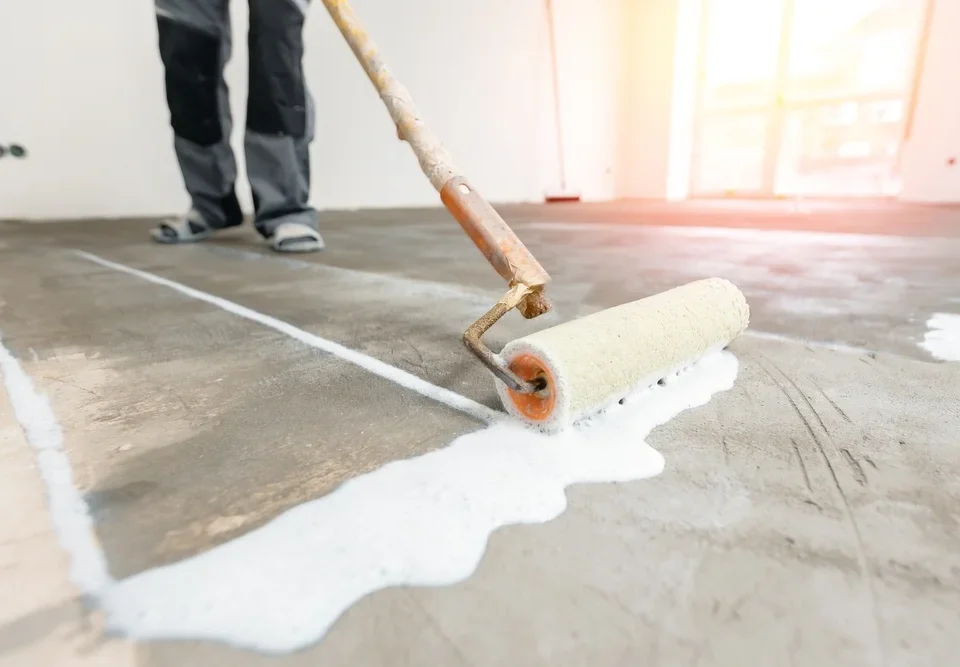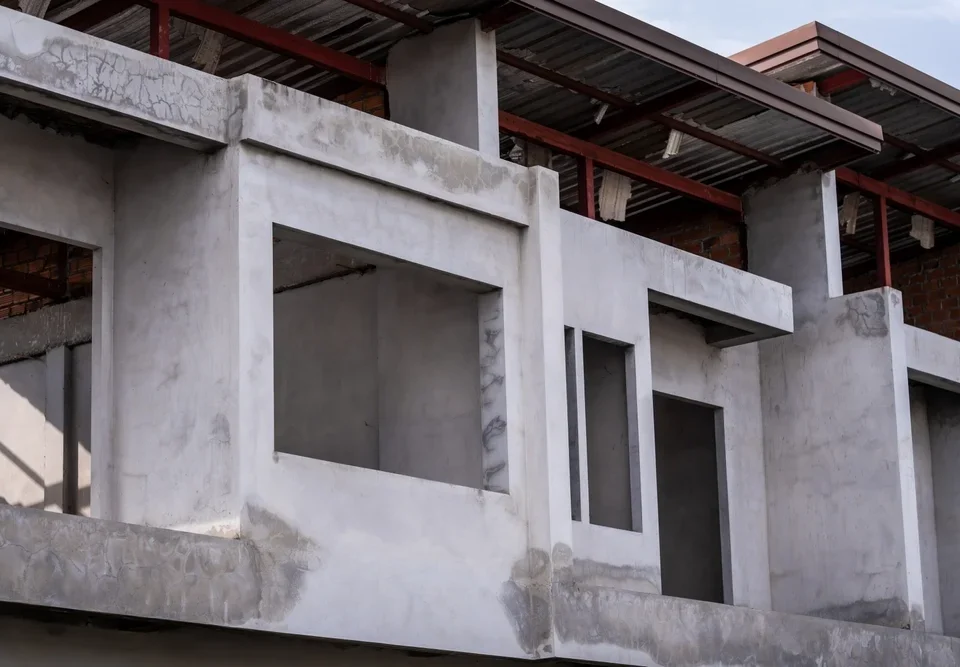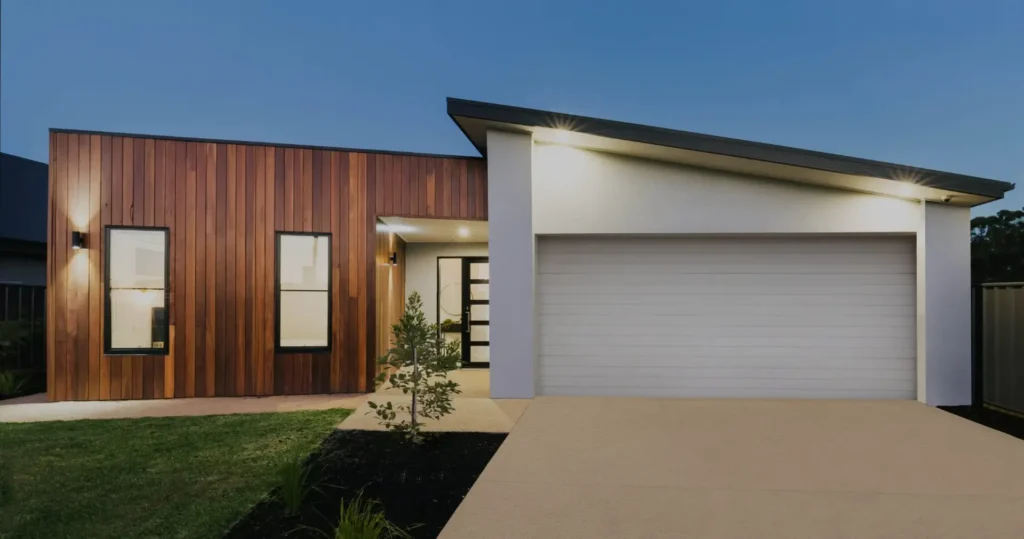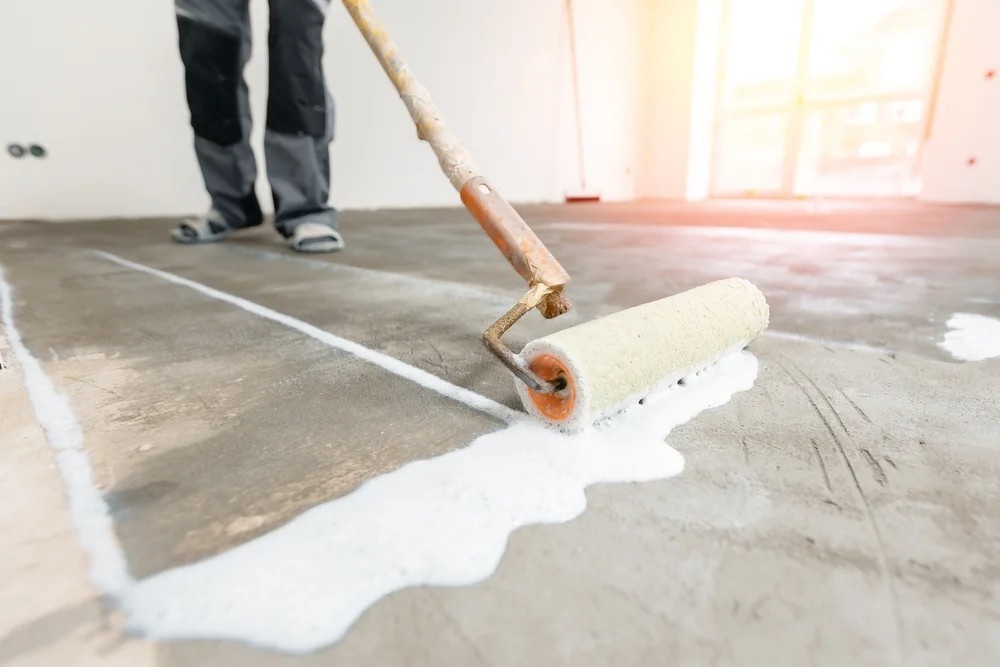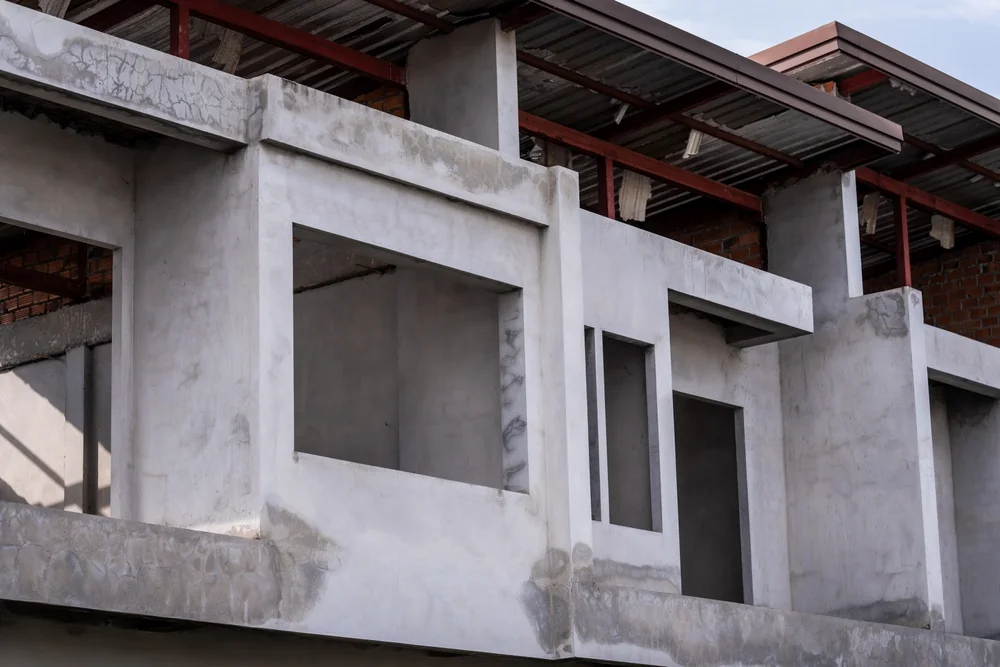


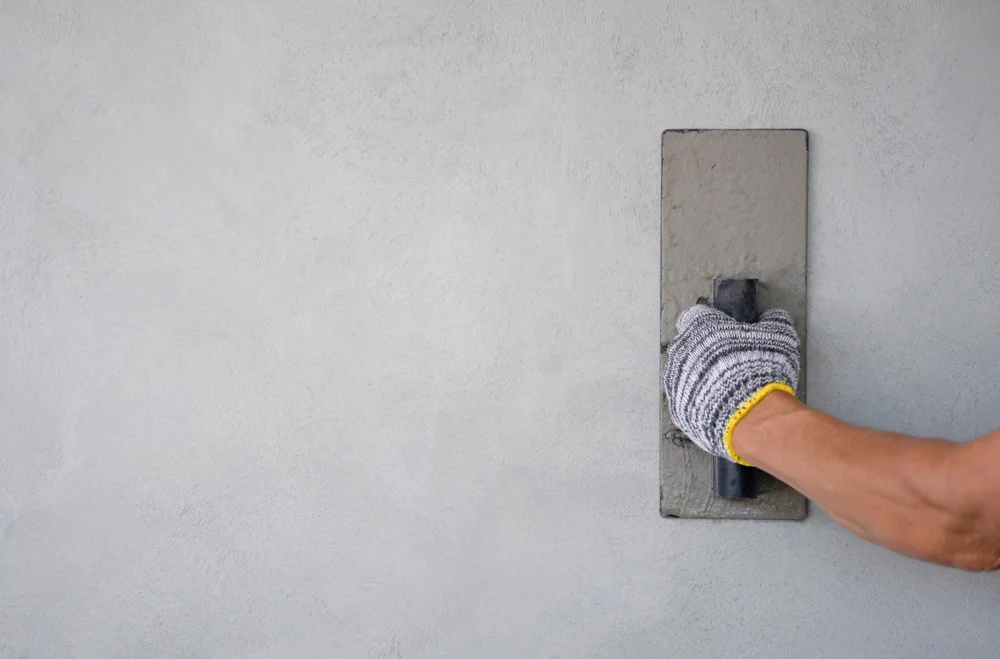

Exposed aggregate looks simple. It isn’t. It’s one of those finishes that looks DIY‑able until you realise one bad pour or wash‑off has just ruined a driveway you can’t hide or patch.
Installing it properly needs a clear step‑by‑step process and someone who knows what they’re doing. In this guide we’ll walk you through how exposed aggregate is done the right way – what happens at each stage, where most DIY jobs go wrong, and when it makes sense to call a concreter instead of gambling the whole slab.
Exposed aggregate isn’t just “fancy concrete.” It’s tough and it looks good for a long time. Done properly, it shrugs off weather, tyres and foot traffic without turning into a cracked, dusty eyesore. You get a hard‑wearing surface and a finish that actually lifts the front of the house instead of looking like a plain grey slab.
The natural, textured look works with most modern homes and doesn’t go out of style. It hides dirt better than plain concrete, needs very little maintenance and gives you colour and stone variation without tiles or pavers that can move and lift. That’s why you see it on so many driveways, paths and pool surrounds.

Before you even think about pouring, you need to pick the right mix. The stones (aggregate) you choose decide the final colour, texture and slip‑resistance. You want something that:
Get this wrong and no amount of good finishing will save it – you’ll be staring at a driveway or path that doesn’t suit the place for the next decade. Spend the time up front choosing the right aggregate and you avoid that regret.
On paper, DIY looks like a no‑brainer. Materials and pump hire might run $45–$55 per m². A pro charges $85–$150 installed. You “save” half.
Until you miss the wash‑off window.
Where DIY Jobs Fall Apart
The trap isn’t mixing or pouring – it’s timing the retarder and wash‑off. You’re on the slab at 6am trying to guess if the surface is ready, with only a few hours to get it right.
Get it wrong and you’re into demo‑and‑re‑pour:
That $50 per metre you thought you were saving can easily blow out past $130 per metre once you factor in doing it twice.
There are jobs where DIY exposed aggregate is realistic:
Once you’re talking about:
…it stops being DIY‑friendly and starts being “don’t gamble the whole front of your house.”
Small paths and patios – fair game if you’re handy. Driveways and pool surrounds – call a concreter. If you want it done once and done properly, you can always talk to us at Cube.
We’ve covered the overview. This is the more detailed version of how an exposed aggregate pour actually comes together, plus what can go wrong at each step.
1. Base preparation
The job starts with excavating the area to the required depth (typically 4–6 inches / 100–150 mm, depending on use), removing all vegetation, soft spots and debris, and making sure the ground is reasonably level. A compacted sub‑base such as crushed rock or gravel is then laid to give the concrete strength and drainage.
If the soil is soft or unstable, the base needs extra excavation and more compacted gravel, or in some cases soil stabilisation. The aim is a firm, even base. Any shortcuts here usually show up later as cracking or sinking.
Timber or steel forms are set up to define the shape, thickness and levels of the slab. They must be securely braced and set dead level (or to the right fall) so water runs away from the house, not toward it.
If forms move during the pour, thickness and levels change. In that case the pour needs to be paused so forms can be re‑braced and reset before continuing. Rushing this step is how you end up with ponding water and uneven edges.
Concrete with the chosen aggregate mix is then placed into the forms and spread evenly. The mix should be a consistent, workable slump so it can be placed, levelled and exposed properly.
Uneven distribution creates weak spots and inconsistent colour. If the mix is too wet or too dry, it can affect the finish and strength, so controlling consistency from start to finish is critical. Pre‑wetting very dusty aggregate also helps, as excessive dust can interfere with the bond.
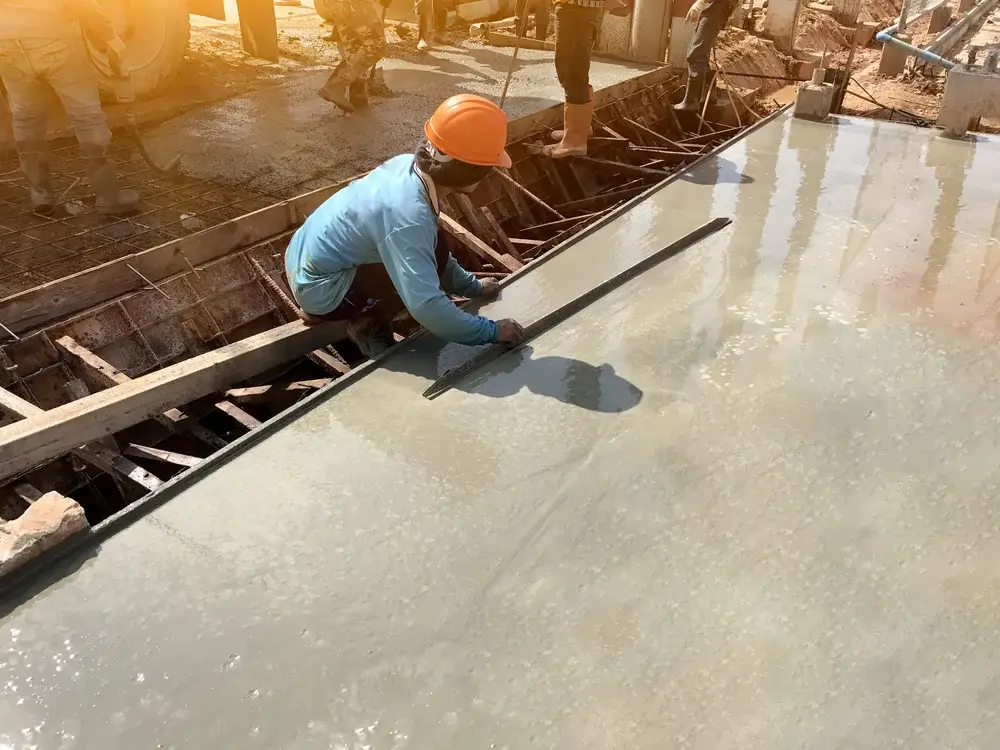
Once the concrete is in, it’s levelled with a screed board, then smoothed with a bull float and trowels to achieve a flat, even surface ready for exposing.
Any low spots should be corrected while the concrete is still workable by adding a little more mix and re‑screeding. Overworking the surface can weaken the top layer, so the goal is to work steadily and efficiently rather than endlessly re‑trowel the same area.
When the concrete has begun to set but is not fully hardened, the aggregate is exposed. This is usually done with water washing or a surface retarder, depending on the mix and the look you’re going for.
If the stones are not exposed enough, the process can be repeated gently, but over‑exposure can loosen the aggregate and roughen the surface. Testing a small area first helps dial in the right timing so the exposure is even across the whole slab.
Finally, the slab needs time to cure so it reaches full strength. This usually takes several days and is one of the most important steps for long‑term performance.
If the surface dries too quickly from heat or wind, it’s more likely to crack. Using a curing compound or keeping the surface lightly moist helps prevent rapid drying. Heavy foot or vehicle traffic should be kept off the concrete until it has cured enough to handle the load.
Customization Options
Exposed aggregate is easy to customise. You can choose the stone colour and size, the base concrete colour, and how “heavy” or light you want the exposure. A good concreter will walk you through sample boards and help you pick a mix that suits your house, slope and how the area will be used.
Properly installed exposed aggregate needs very little. That’s the point.
Hose it down once or twice a year. For stubborn spots like oil, rust or leaf stains, a domestic pressure washer on a medium setting is usually enough. Avoid acid-based cleaners (they strip sealer) and bleach (it can lift colour from the aggregate).
Sealer keeps the colour vivid and the surface more stain-resistant. It’s time to reseal when the concrete looks dull, water stops beading on top, or oil marks start soaking in. Allow around half a day for a typical driveway and roughly $8–15 per m².
A well-installed, well-maintained slab in Melbourne will typically last 25–30 years before the underlying concrete, not the exposed finish, becomes the limiting factor.
And here’s who’s behind the work.
Common options include quartz, granite, limestone and even recycled glass. Your concreter can show you sample boards so you can see how each looks once exposed.
Yes. You can add colour through the choice of aggregate, by adding oxide pigment to the concrete mix, or by using a tinted sealer.
It depends on the size and complexity of the job, but most exposed aggregate projects take a few days from ground preparation to final wash and early curing.
Yes. The textured surface of the exposed stones provides natural slip resistance, which is why it’s popular around driveways and paths.
Typically 4–6 inches (around 100–150 mm), depending on the load and how the area will be used. Driveways usually need the upper end of that range.
Think about size, colour, texture and how it will look next to your house, driveway or garden. Viewing real samples or small mock-ups in natural light makes the decision much easier.
As a general rule, allow 7–10 days of curing before heavy use, especially for vehicle traffic.
Yes. Sealing improves durability, helps resist stains and keeps the colours looking fresh. It should be re-done every few years, depending on traffic and weather.
Exposed aggregate concrete isn’t just another slab; it’s a finish that mixes durability with a higher‑end look. It works on driveways, paths and outdoor areas, handles Melbourne’s weather, and doesn’t ask for much in the way of maintenance. The steps to install it properly are detailed and timing‑sensitive, which is why it’s best left to crews with the right experience, tools and mixes.
Most homeowners pick exposed aggregate for the look. The slip resistance is what makes them keep it. That’s the surprise: you think you’re choosing the pebbles, quartz or granite in the surface, but what you really get is one of the safest options for wet feet.
Cube Concreting has been laying exposed aggregate driveways and outdoor areas for homeowners across Sunbury, Gisborne, Rockbank, Fraser Rise, Plumpton, Keilor Downs, Taylors Lakes, Tullamarine, Woodend and nearby suburbs. This guide gives you the whole picture: what exposed aggregate is, how it’s laid, what it costs in Melbourne’s north‑west, and when it pays to ring a pro instead of rolling the dice on DIY.
Jason Halilovic
Hey, I’m Jason Halilovic, the concreter behind Cube Concreting. I’ve been pouring and finishing concrete for over 20 years, with a focus on driveways and exposed aggregate that actually last. I’m on the tools, not just the quotes, and I treat every job like it’s going at my own place: solid base, correct falls, clean edges, no shortcuts. If you want concrete that looks good now and is still doing its job in 10 years, that’s what I’m here for.